
Clean the area, assess depth, then compound, touch up, sand, and polish.
If you want to learn how to fix the scratch on the car the right way, you’re in the perfect spot. I’ve repaired hundreds of blemishes, from hairline marks to key scratches, and I’ll walk you through what works, what fails, and how to avoid costly mistakes. This guide shows how to fix the scratch on the car step by step, with real-world tips and pro-level results you can do at home.
How car paint works and why scratches happen
Modern cars use a layered system: clear coat on top, color basecoat in the middle, and primer on metal or plastic below. Most light scratches live in the clear coat. Deeper ones cut into color or primer. Knowing the layer you’ve hit tells you how to fix the scratch on the car without guesswork.
Clear coat is thin, often 30 to 50 microns. That is less than a human hair. Working slow and cool protects that layer while you correct the surface.
- Clear coat gives gloss and UV defense.
- Basecoat provides color; damage here needs paint.
- Primer grips metal or plastic; if you see gray or bare metal, plan for touch-up and sealing.
Diagnose the scratch: the 5-second test
Before you grab a buffer, test the scratch. Run a clean fingernail across it. If your nail does not catch, it is likely a transfer mark or a light clear coat scuff, which is easy to fix. If it catches, you may need touch-up or wet sanding.
I also mist the area with isopropyl alcohol and wipe. This removes wax and fillers so you can see the true depth before you decide how to fix the scratch on the car.

- No nail catch and faint: polish should fix it.
- Slight catch, white line: clear scuff; compound then polish.
- Color missing or gray showing: basecoat or primer damage; plan for paint.
- Rust on steel: stop it fast with rust converter or primer.
Tools and materials you actually need
You can fix most scratches with simple tools. Use quality products, keep pads clean, and work in shade on cool panels. This helps you fix the scratch on the car with less risk.

- Wash tools: pH-neutral car shampoo, microfiber mitt, two buckets, drying towels.
- Prep: isopropyl alcohol mix, painter’s tape, nitrile gloves, good light.
- Correction: microfiber or foam pads, compound, polish, hand applicators.
- Touch-up: OEM color-matched paint, clear coat, fine brushes or toothpicks.
- Sanding: 2000–3000 grit sandpaper, foam sanding block, spray bottle with soapy water.
- Finish: sealant or ceramic spray for protection.
Step-by-step: how to fix the scratch on the car at home
You can tackle most clear coat scratches in under an hour. For deeper damage, plan more time. Follow this flow to learn how to fix the scratch on the car without making it worse.

- Clean and prep
- Wash and dry the panel.
- Wipe with isopropyl alcohol mix to remove wax and fillers.
- Tape edges, badges, and plastic trim.
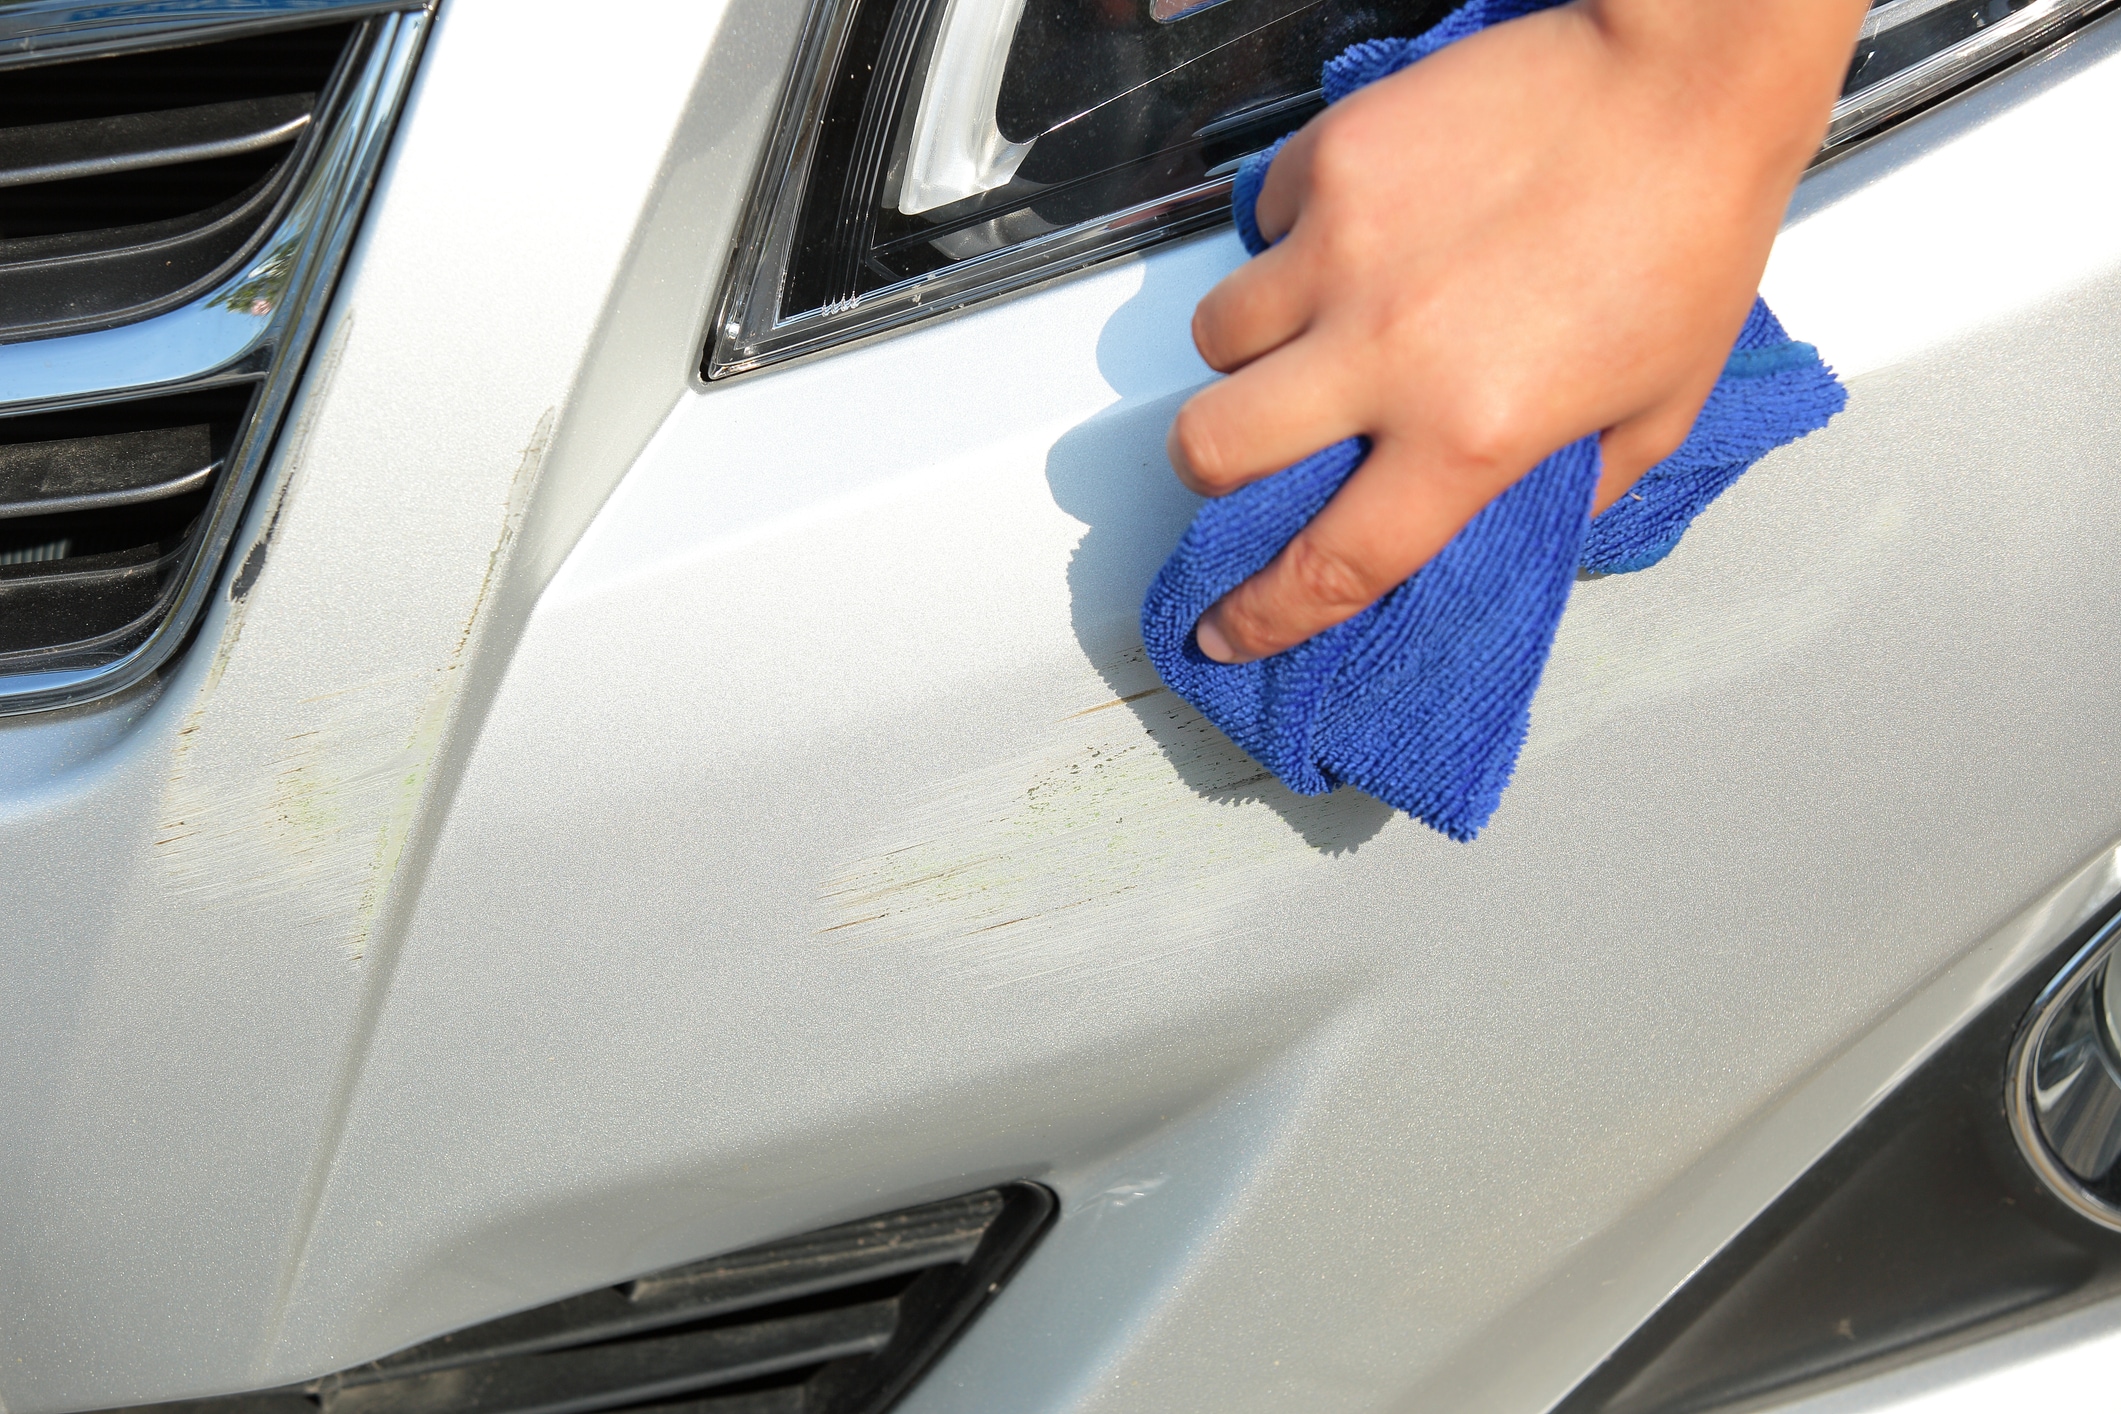
- For light marks or paint transfer
- Use a mild polish first. Work a small area by hand or with a dual-action polisher.
- Wipe, inspect under light, and repeat if needed.
- Seal the area with wax or ceramic spray.
- For clear coat scratches that catch a nail
- Start with a light-cut compound on a foam or microfiber pad.
- Work slow. Use low speed and light pressure. Keep the pad flat.
- After haze clears, switch to a finishing polish for gloss.
- Clean with alcohol mix and check in sunlight.
- For basecoat scratches needing touch-up
- Clean the scratch with alcohol. If metal is exposed, apply rust converter or primer.
- Shake touch-up paint well. Use a fine brush or toothpick for thin, controlled dabs.
- Fill just the valley of the scratch. Let each thin layer dry before the next.
- Apply touch-up clear coat over the color once it levels.
- Level and blend after touch-up
- After paint cures per product guide, lightly wet sand with 3000 grit on a soft block to level high spots only.
- Polish to restore gloss and blend the repair into the panel.
Personal tip: I once rushed a hood scratch and burned through clear by using too much pressure. Slow down, let the polish do the work, and check progress often. That is the safest way to fix the scratch on the car.
Mistakes to avoid
- Do not sand unless the scratch needs leveling.
- Do not compound on a hot panel or in direct sun.
- Do not use old, dirty pads; they can mar the paint.
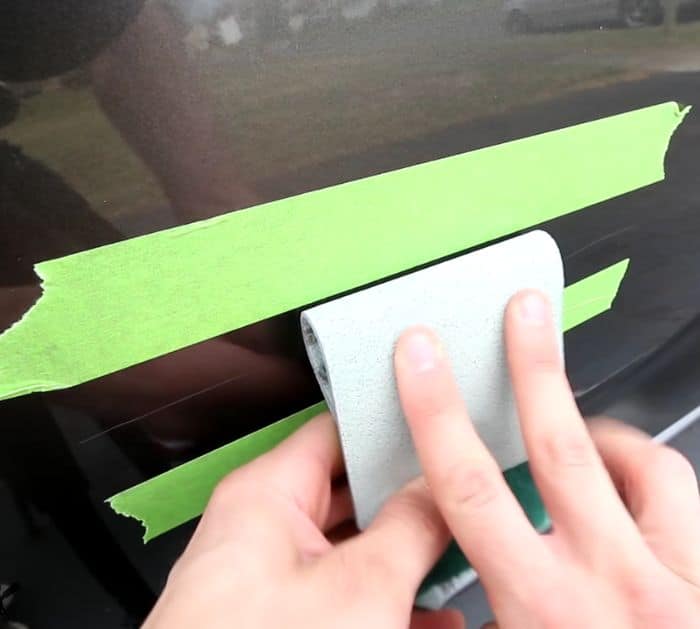
Wet sanding without fear: when and how
Wet sanding sounds scary, but done right, it is safe. Use it only when you need to level a raised touch-up or reduce a sharp clear coat scratch edge. This can help you fix the scratch on the car to a near-invisible finish.
- Use 2000 or 3000 grit only, soaked in water with a drop of soap.
- Wrap paper around a soft block to keep pressure even.
- Sand a tiny area with light, straight passes, checking every few strokes.
- Stop as soon as the ridge levels. Then compound and polish to restore shine.
Paint matching and touch-up like a pro
Perfect color match matters. Get the paint code on the door jamb, under the hood, or in the owner’s manual. This takes guesswork out of how to fix the scratch on the car when basecoat is harmed.

- Choose OEM touch-up or a high-quality matched kit.
- Practice on cardboard to test flow before touching the car.
- Apply thin, stacked layers. Thick blobs are hard to level.
- Let paint cure fully before you sand or polish.
Cost, time, and when to call a professional
Not all scratches are equal. Some need a specialist. Knowing the limits is part of learning how to fix the scratch on the car with confidence.
- DIY cost: 30–150 dollars in supplies for most jobs.
- Time: 20–60 minutes for clear coat scuffs; several hours for touch-up and blending.
- Call a pro when:
- The scratch spans a full panel edge to edge.
- You see cracks in clear coat like a spider web.
- The panel is aluminum with corrosion or plastic with deep gouges.
- You are unsure; a mobile pro can color-sand and blend fast.
Prevention that actually works
The best repair is the one you never need. Small habits cut risk and save you time and money on how to fix the scratch on the car later.
- Keep a good sealant or ceramic spray on the paint every 3–6 months.
- Use two-bucket washes and clean mitts to avoid wash marring.
- Park away from carts and tight doors when you can.
- Install clear paint protection film in high-risk zones.
- Carry a small kit: quick detailer, soft towel, and a mild polish for transfers.
Frequently Asked Questions of how to fix the scratch on the car
How do I know if I can polish a scratch out?
Do the fingernail test. If it does not catch, you can likely remove it with polish or a mild compound.
Can toothpaste fix the scratch on the car?
Toothpaste is a weak abrasive and may reduce very light haze. It is not ideal and can add more micro-scratches; use proper polish instead.
How long should I wait between touch-up paint layers?
Wait 10–30 minutes for flash-off unless the product says otherwise. Let the final color and clear cure several hours to overnight before sanding or polishing.
Will polishing remove clear coat protection?
Polishing removes a tiny amount of clear coat. Use the least aggressive method and protect after with sealant or ceramic spray.
What grit sandpaper is safe for clear coat?
Use 2000–3000 grit only, with water and a soft block. Always finish with compound and polish to restore clarity.
How many times should I mention how to fix the scratch on the car in my plan?
Use it when it fits the sentence. Focus on clear steps and results; repeating the phrase should never hurt readability.
Conclusion
You now know how to fix the scratch on the car with a clear plan: assess depth, choose the least aggressive method, correct in small steps, and protect the finish. With care and patience, most clear coat marks vanish, and deeper scratches can blend in well.
Set aside an hour this week, gather the simple tools, and try a test spot on a small scratch. If you want more tips, subscribe for new guides, ask a question in the comments, or share your before-and-after photos to help others learn.