

Pull the headliner board, strip old foam, glue new fabric, then reinstall.
If your roof fabric is sagging, you can fix it at home with patience and the right tools. In this guide on how to replace car headliner fabrics, I’ll walk you through every step I use in the shop, plus tips I learned the hard way. We’ll cover tools, adhesives, fabric choices, and smart tricks so you finish with a clean, factory-level look.
What Your Headliner Does and Why It Sags
Your headliner is more than a pretty ceiling. It dampens noise and hides wiring and airbags. It also keeps the cabin feeling finished and quiet.
Most headliners sag because the foam under the fabric breaks down with heat and age. The glue lets go as the foam turns to dust. If you only glue the loose spot, it will fail again. You need to clean the board down to bare shell and start fresh to truly fix it.
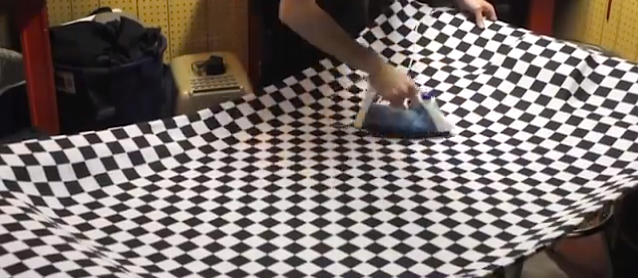
Tools and Materials You’ll Need
You can do this with basic tools. Gather everything first so you are not stuck mid-job.
- Trim removal tools to pop clips without damage.
- Phillips and flat screwdrivers to remove visors and handles.
- Socket set or nut driver for mounts and brackets.
- Razor blades and scissors for cutting fabric clean.
- Stiff brush and vacuum to remove old foam dust.
- Foam-backed headliner fabric sized for your vehicle.
- High-temperature headliner spray adhesive rated for 160°F or higher.
- Drop cloths and masking tape to protect seats and glass.
- Nitrile gloves, eye protection, and a dust mask.
I keep extra clips on hand. Some will break, and it is easier to swap in new ones than to wrestle tired plastic.
Step-by-Step: How to Replace Car Headliner Fabrics
Follow these steps to get a clean, lasting result. Take your time and work in a clean area.
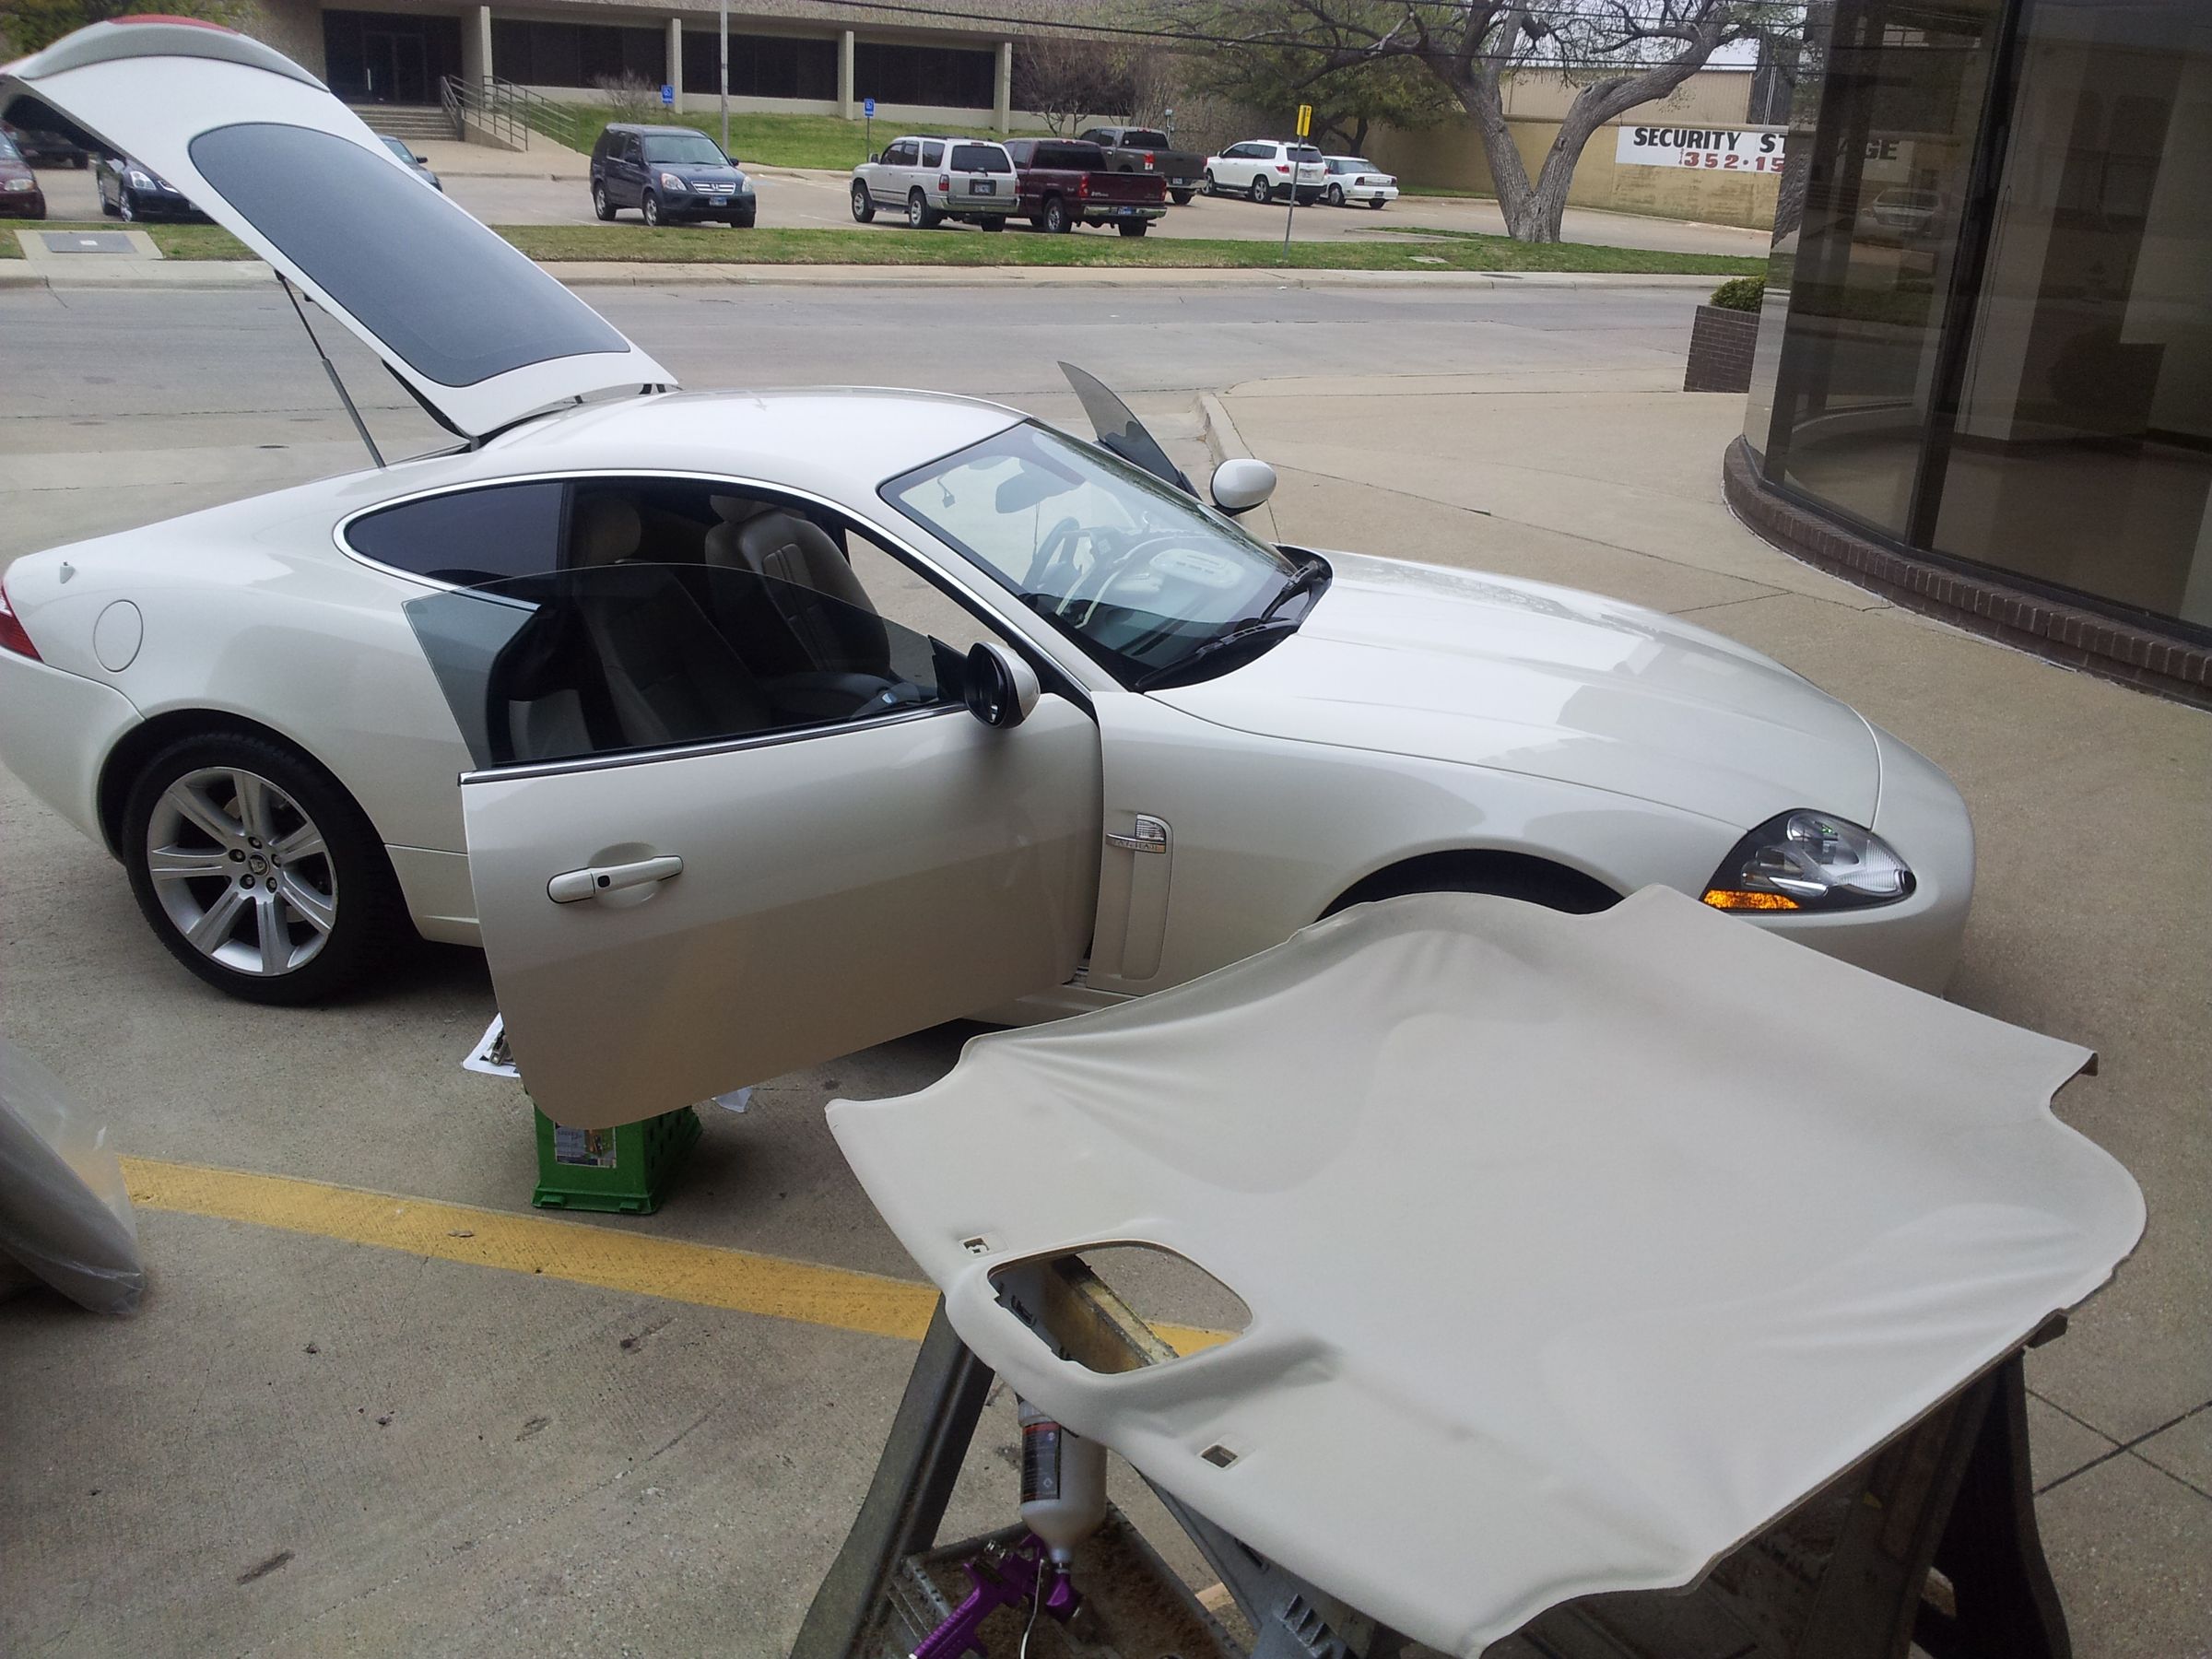
- Remove the headliner board
- Disconnect the battery if you have curtain airbags.
- Remove visors, dome lights, assist handles, and pillar trims.
- Lower the board and slide it out a door or hatch. Bend it as little as you can.
- Strip and clean the board
- Peel off the old fabric in one pull if possible.
- Brush the board until every bit of foam dust is gone.
- Vacuum and wipe with a dry cloth. Do not soak the board; it can warp.
- Test-fit the new fabric
- Lay the foam-backed fabric over the board with a few inches extra on all sides.
- Check grain direction and color in the light.
- Roll it back halfway to prepare for glue.
- Glue in halves for control
- Spray adhesive on the board and the fabric backing per the can’s instructions.
- Wait the recommended tack time. This is key for a strong bond.
- Lay the fabric from center to edge. Smooth with your hand or a soft roller.
- Finish the second half
- Repeat the spray and lay method on the other side.
- Keep the fabric relaxed. Do not stretch it tight or it may later shrink and pucker.
- Press into curves with gentle, even pressure.
- Cut openings after bonding
- Flip the board and find holes for lights and visors by feel.
- Make small X cuts, then trim edges clean.
- Tuck edges around openings for a factory look.
- Wrap and trim edges
- Spray glue around the board’s edges.
- Wrap the fabric and clip darts where curves are tight.
- Keep folds neat. Trim any extra bulk.
- Reinstall the board
- Let the adhesive cure as directed, often 30–60 minutes.
- Slide the board back in and align it.
- Refit trims, handles, and lights. Reconnect the battery and test everything.
In my shop, I set a timer for glue tack and cure. Rushing this step is the number one reason new headliners fail.

Picking the Right Fabric and Adhesive
How to replace car headliner fabrics starts with smart material choices. Use foam-backed headliner fabric. The foam fills small dips and gives that soft, factory feel. Most cars look best with 1/8 to 3/16 inch foam thickness.
Use a high-temperature headliner spray adhesive. It should be rated to handle hot summers and direct sun. Read the can to confirm it bonds foam to fiberglass or pressed shell. Work in 60–85°F temps with low humidity. Extreme heat or damp air weakens the bond.
Special Cases: Sunroofs, Convertibles, and Airbags
How to replace car headliner fabrics in sunroof cars takes extra care. Remove the sunroof trim ring and blend seams around the opening. Use light cuts and tuck fabric under the ring for a smooth edge.
Convertible tops and wagons have extra trim and more curves. Work in smaller glue sections and make more darts at tight corners. For cars with curtain airbags, never glue fabric over an airbag path. Disconnect the battery, give modules time to power down, and avoid any wire strain.
Time, Cost, and When to Hire a Pro
How to replace car headliner fabrics at home takes two to four hours for most sedans. SUVs, vans, and sunroof models can take longer due to extra trim.
DIY cost ranges from about $60 to $200 for fabric, glue, and clips. A professional job often costs $250 to $600 for sedans and more for large vehicles. If your board is cracked, warped, or water damaged, a pro can repair or rebuild it. That can save the day and still beat the cost of a new board.
Common Mistakes and How to Fix Them
I see the same mistakes over and over. Avoid them and your work will last.
- Gluing over foam dust. The bond fails because the adhesive sticks to crumbs, not the board. Clean until your brush and cloth show no yellow dust.
- Using the wrong glue. Low-temp spray fails in summer. Use high-temp headliner adhesive.
- Stretching the fabric. It looks tight at first then shrinks and puckers. Lay it relaxed.
- Skipping tack time. Wet-on-wet smears and weakens the bond. Follow the can’s wait time.
- Cutting holes too big. Start small from the backside and test fit hardware as you go.
If you see a small bubble after install, warm it with the sun or a hair dryer on low. Press it flat with a soft roller. If an edge lifts, peel back a little, spray both sides, wait for tack, and press again.
Care and Maintenance to Make It Last
How to replace car headliner fabrics is only half the job. Good care keeps it fresh. Keep windows cracked on hot days to reduce heat build-up. Use sunshades when parked for long periods.
Clean spots with a soft brush and a light upholstery cleaner. Do not soak the fabric. If water gets past the new fabric, find and fix leaks fast. Water breaks down the foam and will undo your hard work.
Frequently Asked Questions of how to replace car headliner fabrics
How long does it take to replace a headliner at home?
Most jobs take two to four hours. Larger vehicles or sunroof models can add an hour or two.
What is the best glue for headliners?
Use a high-temperature headliner spray adhesive made for foam. It should be rated for at least 160°F and list foam-to-board bonding.
Can I fix a sagging spot without removing the headliner?
Spot fixes rarely last because the foam has failed. The proper way is to remove the board, clean it, and apply new foam-backed fabric.
How much fabric do I need?
Measure the headliner length and width and add at least 6 inches on each side. Most cars need 2 to 3 yards of 54-inch-wide fabric.
Will a steam cleaner fix a sagging headliner?
No. Steam can make the sag worse by weakening old glue and foam. Replace the fabric and foam for a lasting repair.
What if my headliner board is cracked?
You can repair small cracks with fiberglass cloth and resin or thin backing panels. If it is badly warped, consider a pro rebuild.
Is there a difference between headliner fabric and regular fabric?
Yes. Headliner fabric has a foam backing that smooths the surface and helps with sound. Regular fabric tends to show every bump and often fails faster.
Conclusion
Now you know how to replace car headliner fabrics the right way: strip the board clean, choose the right foam-backed fabric, use high-temp adhesive, and work slow and steady. With patient prep and careful cuts, your ceiling will look new and stay that way.
Set aside an afternoon, gather your tools, and make it happen. If you get stuck on a tricky curve or a cracked board, call a pro for that part and finish the rest yourself. Want more step-by-step guides like this? Subscribe for updates or drop your questions in the comments so I can help.